
Find out the minimum car insurance you need to drive legally in Australia.
Car Maintenance
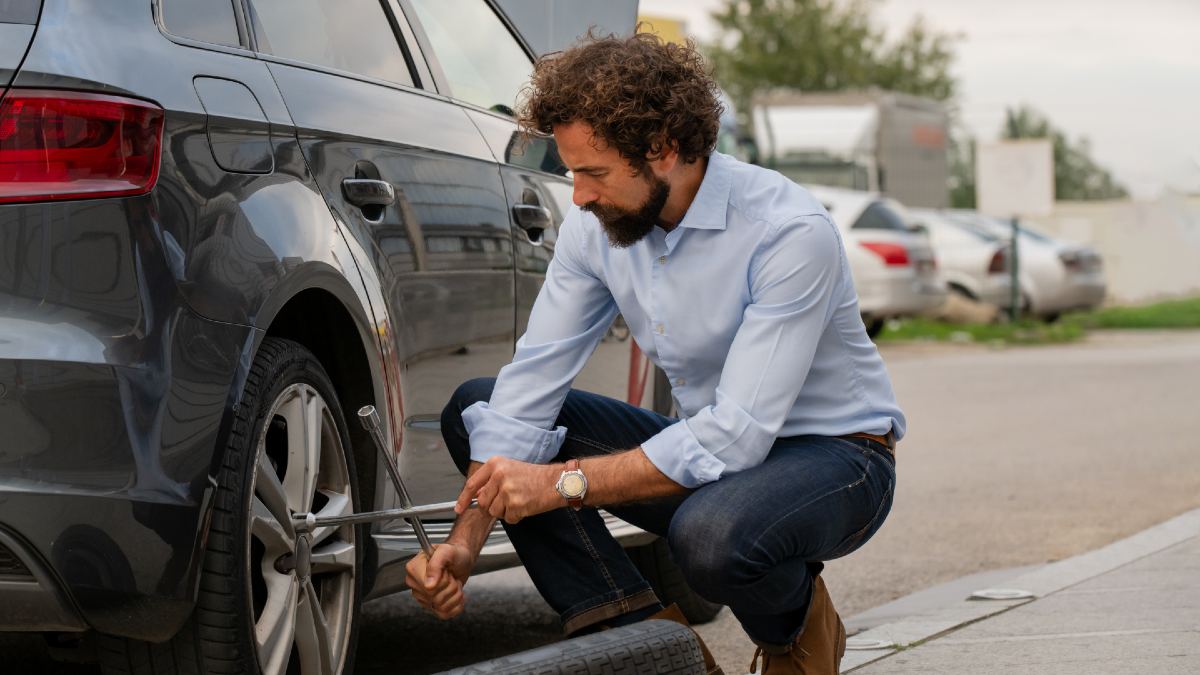
How to change a tyre safely: step-by-step guide for drivers
Learn how to change a tyre safely with this step-by-step guide. Discover what tools you need, how to fit a spare tyre, and when to call roadside assistance.
A flat tyre can happen to any driver, whether you're commuting to work, heading off on a road trip or navigating regional roads. Knowing how to change a tyre safely can help you get back on the road faster and reduce stress in an unexpected situation.
While many newer vehicles now come with tyre repair kits instead of full-size spare tyres (or a space-saver spare tyre), plenty of Australian drivers still rely on a spare wheel in an emergency. Learning the basics of changing a tyre is an important driving skill- especially if you travel long distances or drive in remote areas.
Here's a step-by-step guide on how to change a tyre safely.
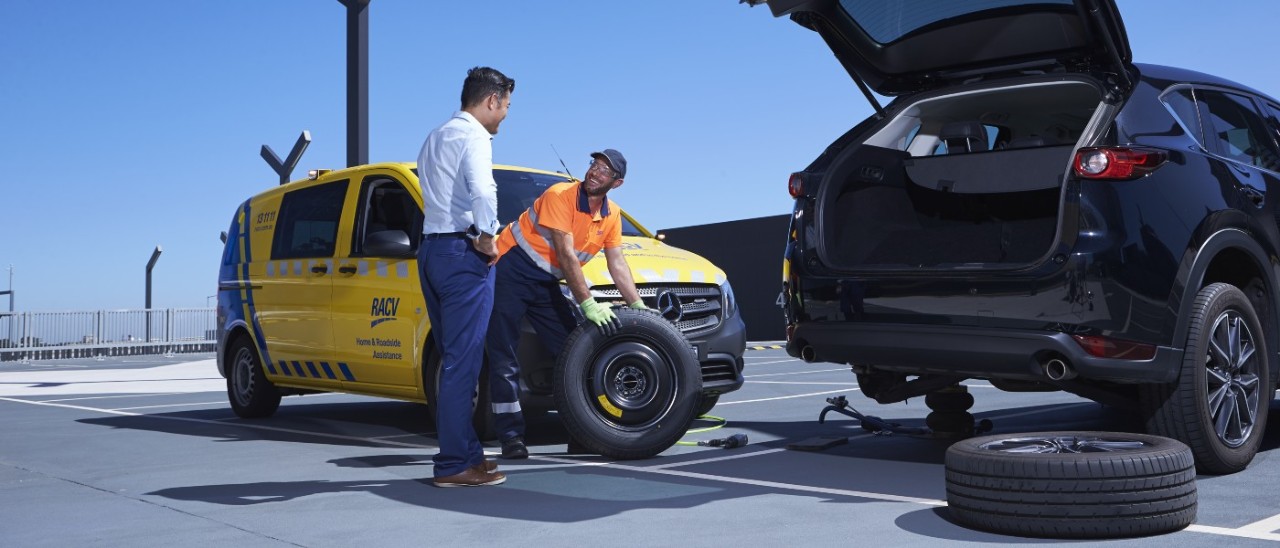
If you find yourself in a dangerous or unsafe position, or you're unsure, call RACV Emergency Roadside Assistance for help 24/7, Australia-wide. You can now stay updated with patrol van tracking when you request assistance via the RACV App.
More: What to do when your car breaks down
What you need to change a tyre
Before starting, make sure your vehicle has the necessary tools. These are often stored under the boot floor or inside a side compartment.
You'll typically need:
- a spare tyre or space-saver spare
- vehicle jack
- wheel brace or lug wrench
- wheel chocks or a heavy object to stop the car rolling
- owner's manual
- gloves, reflective vest and emergency warning triangle for safety
- torch (if it’s dark).
It's also worth checking your spare tyre pressure regularly. A spare tyre is no use in an emergency if it's flat.
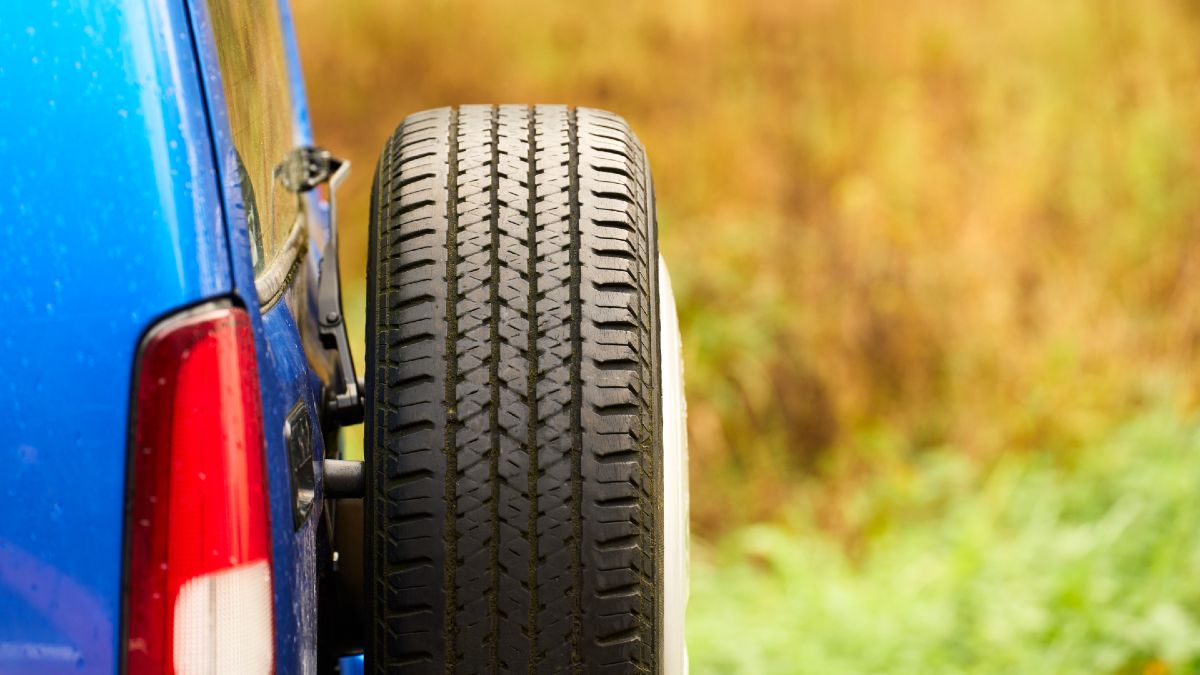
Some cars have spare tyres carried on their boot door or under the boot storage compartment.
How to change a car tyre
Step 1: Find a safe place to stop
If you notice a puncture or flat tyre while driving, slow down gradually and avoid braking suddenly. Turn on your hazard lights immediately to alert other drivers.
Look for a safe, flat and stable area away from traffic, such as a wide roadside shoulder, a car park, or a quiet side street. Avoid stopping on bends or corners, soft ground, steep hills, or too close to moving traffic.
If you are stuck on a busy road or a freeway shoulder, changing the tyre yourself is extremely risky. It is highly recommended that you call for professional roadside help.
Step 2: Secure the vehicle
Once you're stopped safely:
- put the car in 'Park; for automatic vehicles, or in first gear for manuals
- ensure the park brake is on (hand brake/foot break/electric park break, depending on your vehicle)
- turn off the engine
- place an emergency warning triangle behind the car
- place wheel chocks behind the tyres (if available)
If you have passengers, ask them to exit the vehicle and stand in a safe location away from traffic.
Step 3: Locate the spare tyre and tools
Retrieve the spare tyre, jack and wheel brace from your vehicle. This is a good time to inspect the spare tyre for obvious damage or low pressure.
If you're unsure where the jacking points are located, check the owner's manual. Using the wrong jacking point can damage the vehicle.
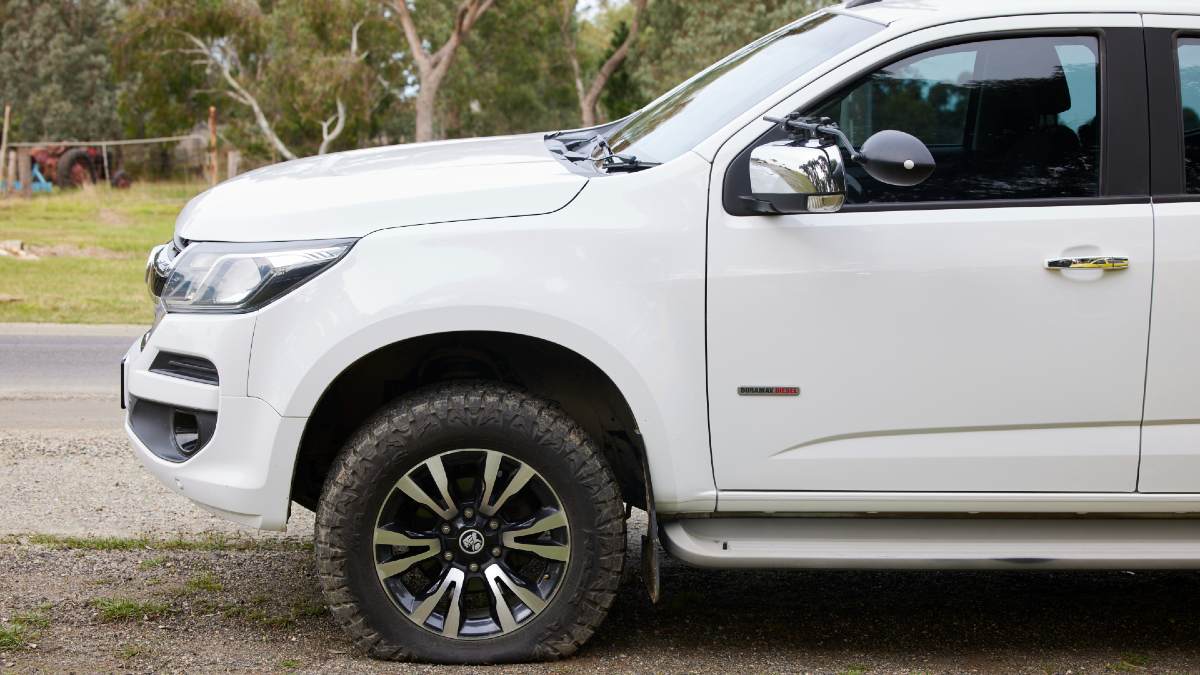
Find a safe place to stop if you notice an issue with your tyre.
Step 4: Loosen the wheel nuts
Before lifting the vehicle using the jack, slightly loosen the wheel nuts on the flat tyre. Loosening the nuts while the tyre is still touching the ground makes it easier to remove the wheel once you've jacked the car up. After all, you don't want to be straining and potentially moving the car when trying to loosen the wheel nuts if it's precariously balanced on a jack.
Your owner's manual should provide instructions on the best order for loosening the nuts. If not, then use a criss-cross or star pattern - that is, moving to the opposite nut each time (e.g. top, bottom, top right, bottom left, etc.). This keeps the process smooth and helps avoid potential damage to the nuts or wheel hub.
Use the wheel brace to turn each nut anti-clockwise. You may need to use your body weight carefully if the nuts are tight.
Do not fully remove the wheel nuts yet. Just loosen them enough so they can be removed once the vehicle is raised.
Step 5: Raise the vehicle with the jack
Position the jack under the correct jacking point closest to the flat tyre.
Slowly raise the vehicle until the flat tyre is off the ground. It must be high enough to fit the properly inflated spare tyre, so much sure you leave enough room.
Make sure that the jack remains stable, with the vehicle level and not shifting or rolling. If the ground feels unstable, lower the car and reposition the jack.
Avoid putting any part of your body underneath the vehicle while it's supported only by the jack.
Step 6: Remove the flat tyre
Now fully unscrew and remove the loosened wheel nuts. If you don't have a tool kit bag, it's a good idea to keep a rag or towel in your car where you can keep everything together. Wheel nuts easily get lost if you just place them on the ground.
Carefully pull the flat tyre straight off the wheel hub and lay it flat on the ground nearby. Tyres can be heavy, especially on SUVs and larger vehicles, so lift carefully to avoid injury.
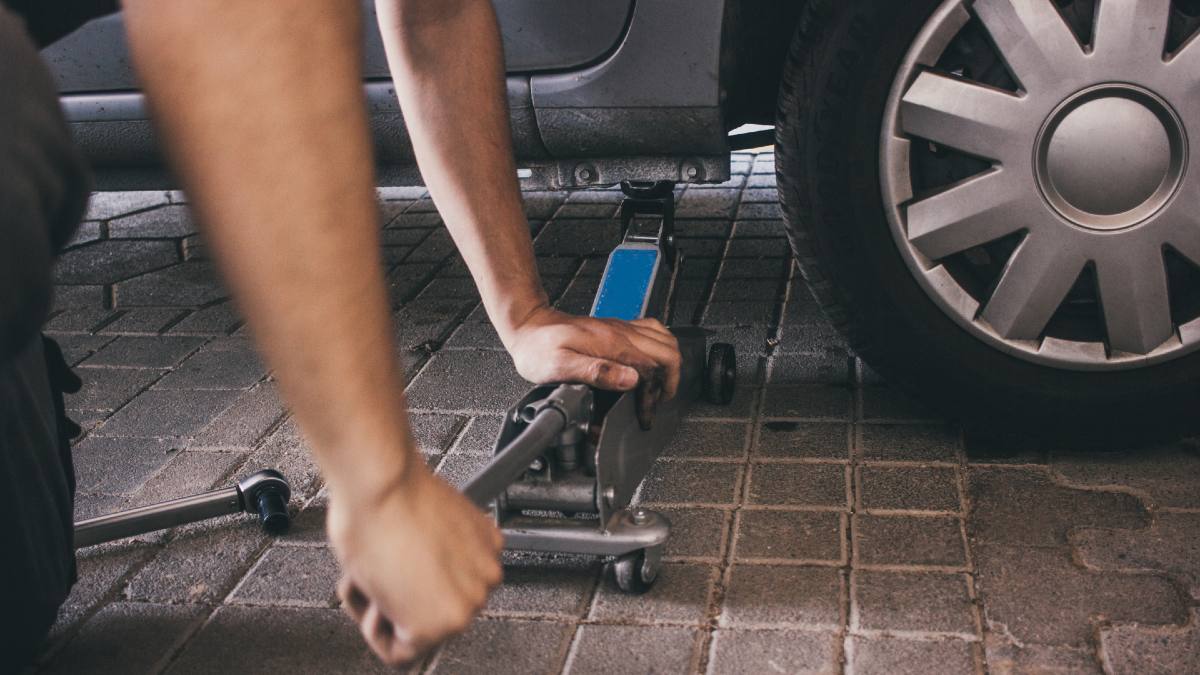
Only raise your car with a jack on a stable, level surface.
Step 7: Fit the spare tyre
Line up the spare tyre with the wheel bolts or stud holes and push it firmly into place.
Replace the wheel nuts by hand first, tightening them enough to hold the wheel securely. Use the criss-cross or star pattern if your owner's manual doesn't specify order.
Do not fully tighten the nuts while the car is still elevated.
Step 8: Lower the vehicle and tighten the wheel nuts
Slowly lower the vehicle back to the ground using the jack.
Once the tyre is firmly touching the ground, remove the jack completely.
Use the wheel brace to fully tighten the wheel nuts in the criss-cross or star pattern. This helps ensure the wheel is tightened evenly. Make sure the nuts are secure, but avoid excessive force.
Step 9: Check the spare tyre limitations
Not all spare tyres are designed for long-distance driving.
Many Australian vehicles use temporary 'space-saver' spare tyres, which have restrictions such as:
- lower maximum speeds, often around 80km/h
- reduced handling and braking performance
- limited driving distance.
Check the sidewall of the spare tyre or your owner's manual for specific limits.
Arrange to repair or replace the damaged tyre as soon as possible, so that you have a spare tyre again. You should also replace a space-saver tyre with a full-size tyre as soon as possible, if you replaced your flat tyre with a space-saver.
Fully tighten the wheel nuts once the vehicle is back on the ground.
What if my car doesn't have a spare tyre?
Some modern vehicles come with a tyre repair kit instead of a spare wheel. These kits typically use sealant and an air compressor to temporarily repair small punctures.
However, tyre repair kits may not work for large punctures, sidewall damage, or blowouts. In these situations, roadside assistance or towing may be required.
When should you call roadside assistance?
Changing a tyre yourself may not always be safe or practical.
Always call roadside assistance if:
- you're in an unsafe location
- the vehicle is on uneven ground
- you don't have the right tools
- the wheel nuts are stuck
- the tyre has blown out badly
- you're unsure how to complete the change safely
- you only have a tyre repair kit and have any doubts about using it.
Having roadside assistance plan can provide extra peace of mind, particularly for long-distance travel or late-night breakdowns.
Tips to help prevent tyre problems
Regular tyre maintenance can reduce the risk of punctures and blowouts. Make sure to:
- check tyre pressure regularly - underinflated tyres can overheat and wear unevenly, while overinflated tyres may reduce grip. Sometimes spare tyres can be at a different tyre pressure than the other tyres, so it pays to have a tyre pressure gauge and check them. If there's any sort of discrepancy from your other tyres, stop at your nearest service centre to get all tyres at the same level.
- inspect tyre tread and damage - look for cracks, bulges, embedded objects, and uneven wear. worn tyres can reduce braking performance and traction, especially in wet weather.
- rotate and service tyres - regular tyre rotations and wheel alignments can help tyres wear evenly and extend their lifespan.

